
GPG with GitHub

之前在 GitHub 上閒晃的時候發現一些人的 commit 都有一個綠色 Verified 的 tag,
當時好奇去看了一下自己的 commit ,發現都沒有這種 tag 除了某些被 merge 的 commit 有出現以外,
後來追了一下才發現原來他們都使用了 GPG 來做 sign commit,
為什麼要做 sign commit 的動作呢?
主要是為了認證該 commit 不是被其他人冒用 user name, user email 而做的 commit,有點像是實名認證吧 XDD
但是為什麼自己在 GitHub 上有些 commit 會有 Verified 的 tag 呢?
主要 GitHub 在註冊的時候為每個使用者都建立了一個 GPG Key,
當在用 GitHub 的介面做操作時,GitHub 會透過該 Key 去 sing commit,所以會有這樣的狀況,
我想是用來識別這真的是該用戶自己做的操作吧!
接著讓我們來看看如何建立 GPG 以及整合進 GitHub 服務吧!
Introduction of GPG
GnuPG (GNU Privacy Guard,GPG) 是一種加密工具,它是符合 OpenPGP 標準規格 RFC4880 的開源實作,可用於加密和數字簽章用途。
但是 OpenPGP 又是什麼呢?
簡單來説 OpenPGP 是 PGP 的開源版,早期 PGP 是用在商業軟體上的加密演算工具,但是礙於商用所以後延伸出 OpenPGP 的方式來制訂出一個加密的標準規格,而 GnuPG (GPG) 就是根據 OpenPGP 標準實做出來的工具
Using GPG
Step 1: Install GPG
在 MacOS 透過 HomeBrew 安裝相關 GPG 套件
brew install gpg2 gnupg pinentry-mac
pinentry-mac 該套件主要是為了要記住 GPG 的密碼所需的套件
Step 2: Update or Create ~/.gnupg/gpg.conf
設定 GPG 使用 gpg-agent
echo 'use-agent' > ~/.gnupg/gpg.conf
Step 3: Modify shell
為了讓 GPG 進行簽證時直接進行交互介面做操作,將下面設定加入你的 shell 設定中 ~/.zshrc or ~/.bashrc or ~/.bash_profile
export GPG_TTY=$(tty)
我這邊都是使用 zsh 作為我 Terminal 的 shell agent
Step 5: Restart your Shell
重啟 Terminal 或是重新載入 shell
source ~/.zshrc
Step 6: Create your GPG Key
建立一個 GPG key
gpg --full-gen-key
輸入上面指令後會有下面的交互需要填寫訊息
Please select what kind of key you want:
   (1) RSA and RSA (default)
   (2) DSA and Elgamal
   (3) DSA (sign only)
   (4) RSA (sign only)
Your selection? 1 # 這邊我是會用該  gpg 去處理其他的加解密檔案設定,所以我這邊會選 default 的 RSA and RSA
RSA keys may be between 1024 and 4096 bits long.
What keysize do you want? (2048) 4096 # bits 的數字越大生成的 Key 越複雜
Requested keysize is 4096 bits
Please specify how long the key should be valid.
         0 = key does not expire
      <n>  = key expires in n days
      <n>w = key expires in n weeks
      <n>m = key expires in n months
      <n>y = key expires in n years
Key is valid for? (0) 3m # 該 Key 的存活時間,通常我會 3 個月換一次,生成 Key 後還是可以修改時間
Key does not expire at all
Is this correct? (y/N) y # 做設定的最後確認

You need a user ID to identify your key; the software constructs the user ID
from the Real Name, Comment and Email Address in this form:
    "Neo Hsu (GPG for GitHub) <NeoHsuDroid@gmail.com>"

Real name: Neo Hsu
Email address: NeoHsuDroid@gmail.com
Comment: GPG for GitHub  # 這邊的說明可以不填寫,主要是可以讓自己用來判斷該 Key 是用在哪裡的補充說明
You selected this USER-ID:
    "Neo Hsu (GPG for GitHub) <NeoHsuDroid@gmail.com>"

Change (N)ame, (C)omment, (E)mail or (O)kay/(Q)uit? o # 做設定的最後確認
You need a Passphrase to protect your secret key.

# 生成 Key 後還是可以修改 expired date, email, real name,但是 comment 不能再做修改或是增加
Step 7: Get your key info
輸入 gpg -k 會列出你所有的 GPG Keys
gpg -k
-----------------------------------
pub   rsa4096 2021-05-08 [SC] [expires: 2021-08-07]
      BEBF------------------------------------ # 這邊就是你之後要對應的 Key ID
uid           [ultimate] Neo Hsu (GPG for GitHub) <NeoHsuDroid@gmail.com>
sub   rsa4096 2021-05-08 [E] [expires: 2021-08-07]
Step 9: Configure Git to use GPG
讓每個 commit 都使用 GPG sign commit,需要針對 Git config 進行下面的設定
# 設定 GPG 運行的位置
git config --global gpg.program $(which gpg)
# 設定你要使用的 GPG Key
git config --global user.signingkey <your key id>
# (Optional) 設定 git commit 都使用 gpgsign 的模式進行 commit,如果不設定每次 commit 都需要加 -S
git config --global commit.gpgsign true
如果需要根據不同 GitHub repo 做不同的 GPG Key sign commit 可以參考我的 INCLUDEIF OF GIT CONFIG 文章來處理喔
Integration to GitHub
Step 1: Export GPG public key info
匯出指定的 GPG Public key
gpg --armor --export <your key id>
Step 2: Setting GPG into GitHib
到 GitHub 的 GPG 設定中,新增 GPG Public key 的內容
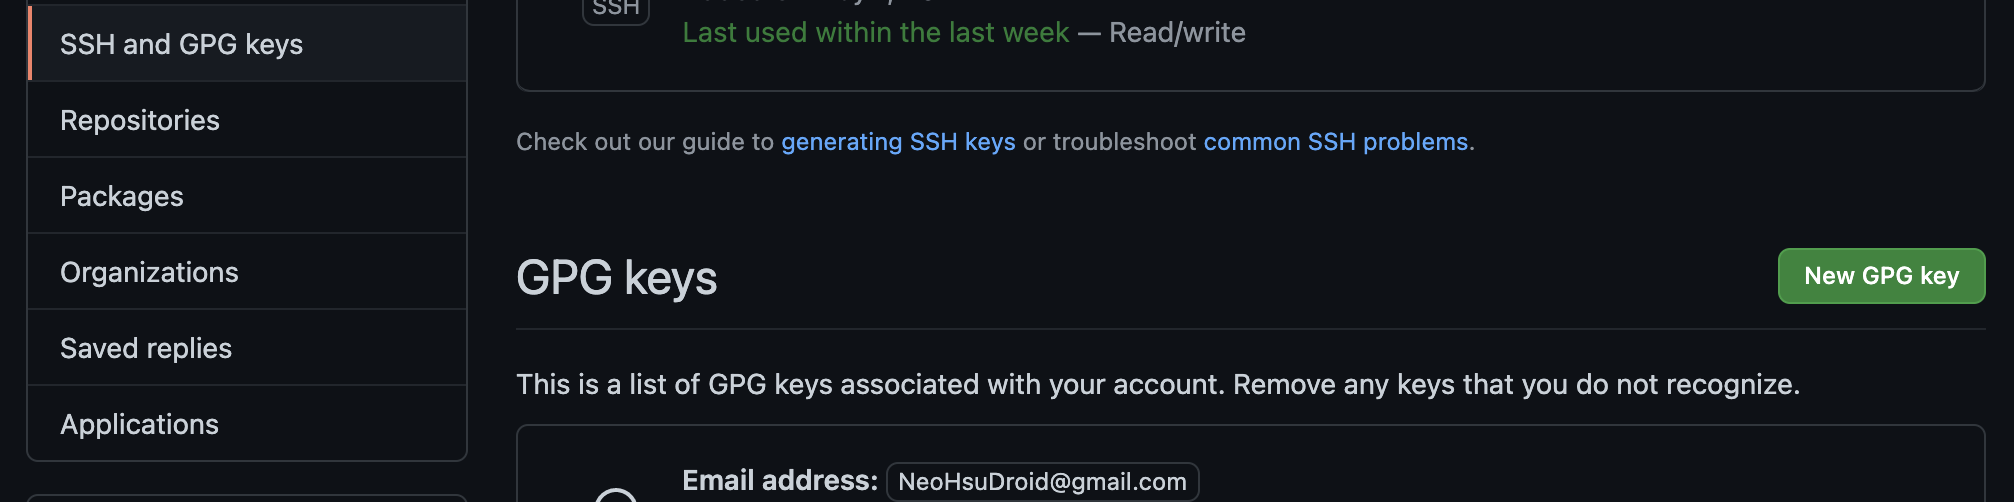
這樣就可以讓 GitHub 去驗證你 commit sign 的 key 是否和設定的為同一把了
Troubleshooting
可以透過下面指令來確認 gpg agent 是否有正常運作喔
gpg-agent --daemon
Backeup GPG keys
要完整備份 GPG Keys 主要要存取三個東西
- Public key
- Private key
- ownertrust file
可以依序以下方式進行備份
gpg -a --export neohsudroid@gmail.com > neohsu_public_gpg_key.asc
gpg -a --export-secret-keys neohsudroid@gmail.com > neohsu_secret_gpg_key.asc
gpg --export-ownertrust > neohsu_ownertrust_gpg.txt
Import GPG keys
透過之前備份的檔案,還原到另外的機器上
gpg --import neohsu_secret_gpg_key.asc
gpg --import-ownertrust neohsu_ownertrust_gpg.txt